Overview
When creating a resource allocation, there are multiple properties to consider, in order to achieve an accurate booking.Task selection
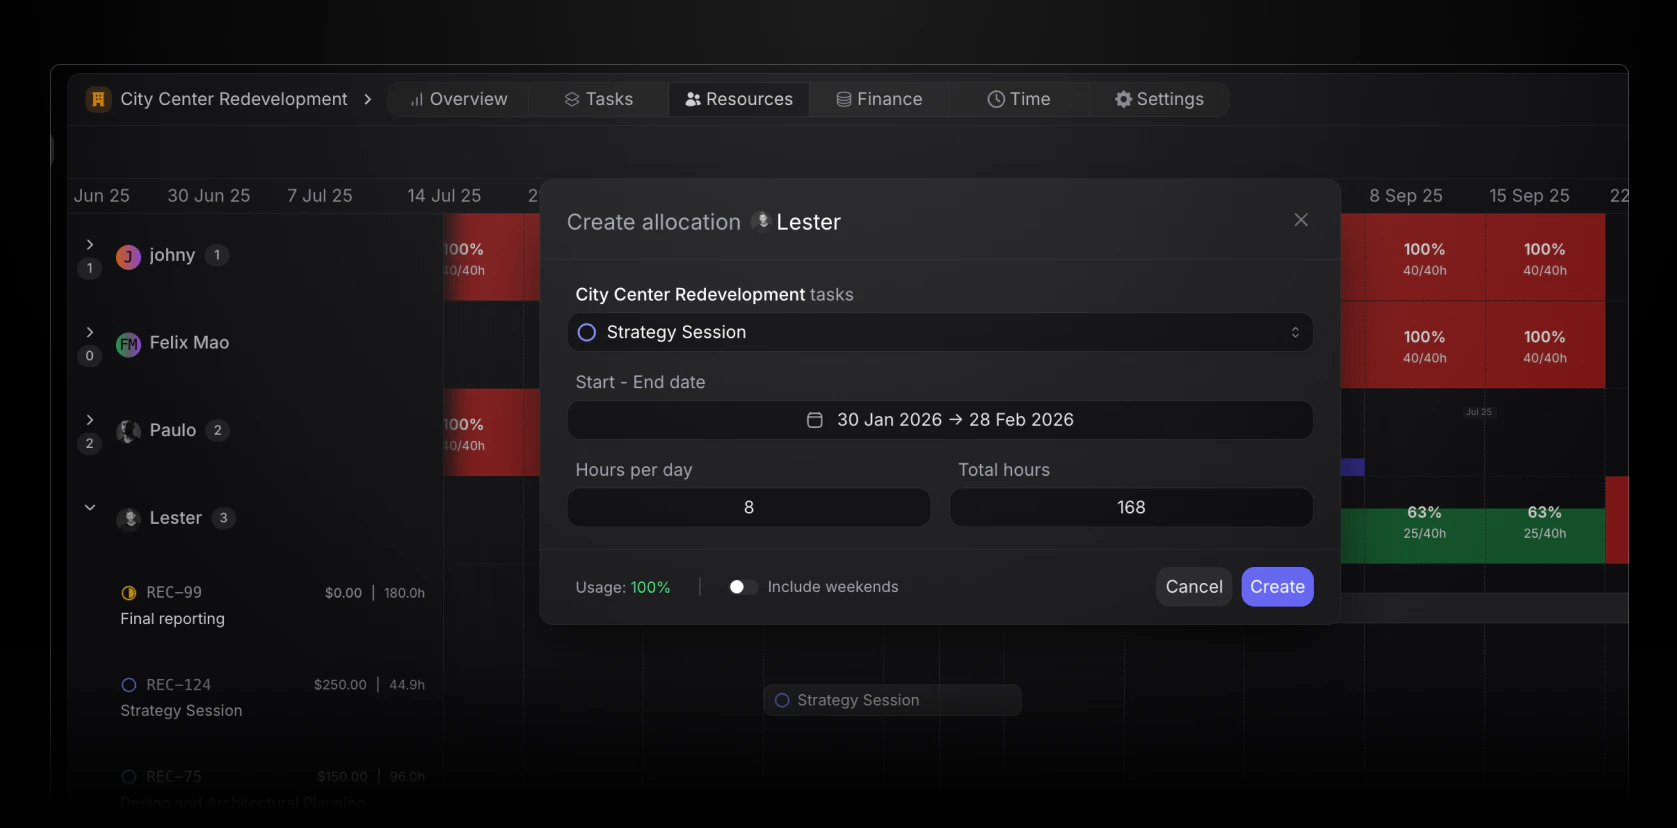
The first step in creating a time allocation, is to select what task the allocation should be associated to. The dropdown will show all tasks currently created in the project, sorted by status (to do, in progress, under review, completed, backlog and cancelled)Allocation period
When creating an allocation, it needs both a start and end date. Note! It’s possible to have multiple allocations at different time periods for the same task for the same member.Hours
There are two methods to choose how many hours to allocate to the selected task.Hours per day method
Enter how many hours per day of the allocation period should be spent working on the task. This will automatically calculate the total hours.Total hours method
Enter how many total hours should be spent working on the task in the allocation period. This will automatically calculate the equivilant hours per day.Usage
In the bottom corner of the allocation window, view a real-time impact of new allocations. This percentage is calculated by showing existing allocations and the impact of the new allocation in the selected period.Weekends
Include or exclude the use of weekends in your allocations. If toggled on, this will include weekends in the calculation of capacity.Member time off
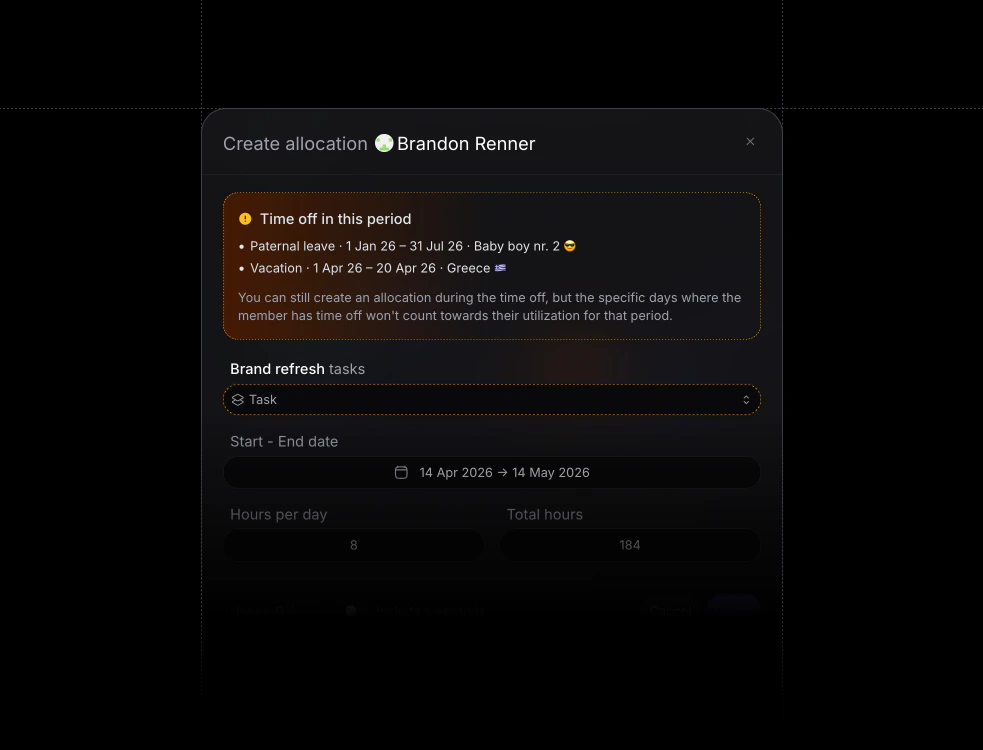
If the member has time off recorded that is not rejected (approved and pending both count), the allocation dialog shows a callout that lists the relevant time off entries so you can see overlap with the allocation period before you save.