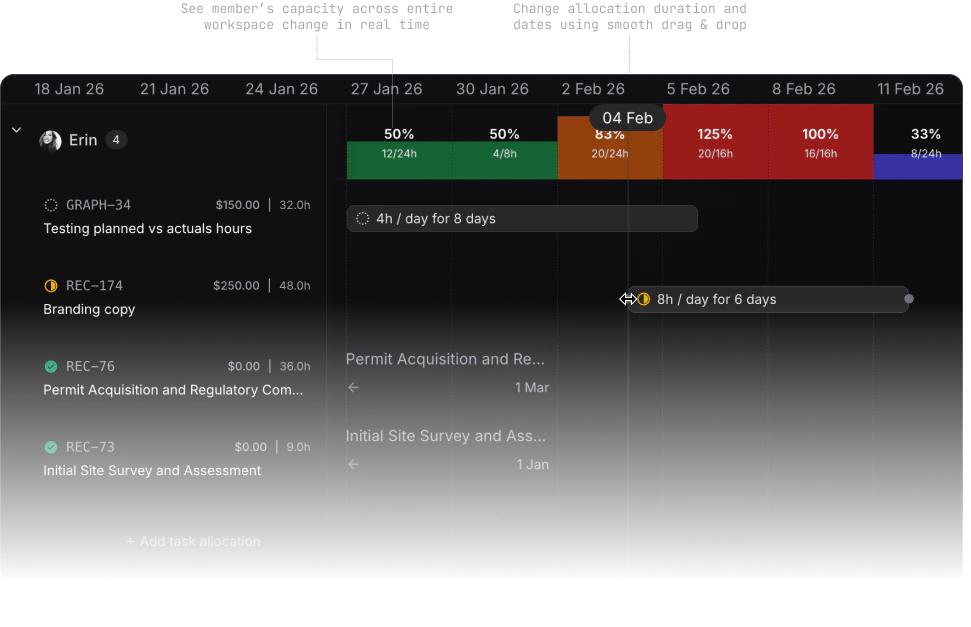
How to allocate
Entry points, capacity %, placeholder positions, and conversion to a member.
Allocation properties
Dates, total hours, share of capacity, per-weekday entry, and time off.
Workspace capacity
Heatmap, timeline, filters, and how available vs allocated hours are
calculated.
Edit tasks
Allocations and assignments on the task page and sidebar.
Where to plan
Capacity on the project timeline reflects allocations across the entire workspace, not only the open project.
Allocate by share of capacity
For a member with an employment contract, open the allocation dialog and use the % toggle to book a share of contracted time (for example 50% for two weeks). Pike converts to hours from the contract in that period. Positions cannot use % mode. Use total hours or per-weekday entry for placeholder roles. See How to allocate for the step-by-step flow and Allocation properties for how % interacts with contracts.Placeholder positions
When you know the role but not the person:- Define the position under Members → Settings → Member positions.
- Add the position to the project team or assign it on a task.
- Click + on the position row in Allocations (task or timeline) and enter hours.
- When someone is hired, Assign on the position row and pick the member. Pike moves existing allocation blocks after you confirm.
Adding members and positions
Add members or open positions when you create the project or from the Resources tab. Positions use the default rate and title from Members → Settings → Member positions. When adding a member, you can fill out:Filter by position and/or skills
Filter individually or stacked to find the right members for your project.Role
Select whether the member is a project lead or member. There can only be one project lead.Member rates
When a member has been selected, this field is filled automatically if the member has a defined position in their profile. If you wish to change the project rate, or the member does not have a predefined position rate, you can give a custom rate. This custom rate is inherited on tasks.Role description
When a member has been selected, this field is filled automatically if the member has a defined position in their profile. For example, if Peter’s position in the Acme Inc workspace is “Senior consultant”, his default role description on a project matches that title. You can override this description. The project-defined description is inherited on tasks by default. Learn more about task member rate and role description sources in this section on task creation.Project timeline
The Resources tab timeline shows member and position rows with a real-time heatmap. In the top right corner, select the zoom level:- Day (most accurate)
- Week
- Month
- Quarter
- Year